Tuesday, 31 July 2018

Delicate Butterfly Wings

In May following the Cutwork Folios (see posts here and here) we had a member led workshop on Cutwork where we made a delicate 3D Butterfly.
Here is the 'Teacher's Desk' out front.


Everything was prepared for us, the butterfly already marked out in Frixion pen, even a Worksheet - all we needed was our basic sewing kit and a 6 inch hoop.
First, taking 2 strands of embroidery floss, our task was to sew Double Running stitches around the red lines, stopping at a certain point marked on our Worksheet, to take 3 bars across and work Button Hole stitch over them.


Once the three bars were secured then buttonhole stitch was worked over them and the double running stitch all around the shape, as in the example, worked in white thread below.


All four of the large red shapes were worked this way taking care to make sure that the buttonhole loops were worked in the same direction. The small shapes did not need any bars.
Below, is the detailed sample showing the direction to work in and points to stop and make bars. It was really helpful that this had been photocopied onto our detailed work sheet as well.


As our butterflies were to be 3D, starting at the butterfly head, we Couched white cake wire down around each wing, pausing at the body to take the wire down through the fabric to come up at the wing on the other side. 
The wire was then covered with buttonhole stitch making sure that the loops faced outwards away from the wing.
A line of double running stitch was worked between the wings and also covered with buttonhole stitch.
After carefully cutting out the butterfly, it was attached to ready prepared fabric that had been fixed onto heavy weight iron-on vilene and cut to a size to fit a box frame.
Double running stitch attached the body to the background fabric and random stitches padded it out before Satin Stitch was worked over it and antennae stitched on.
The wings could be bent up slightly before placing in the frame.
Here is the finished Butterfly, in its frame, made by our workshop leader and teacher SB. 


The batik background fabric goes very well with the variegated embroidery thread and the white box frame is the perfect setting for the butterfly.
As our workshop leader always tells me, choosing the right frame for you work is important. You do not want the frame to clash or clamour for attention with your carefully sewn piece. The same goes for any work be it embroidered, painted or drawn.
A big thank you to SB for her hard work both creating the Cutwork Butterfly and preparing all the samples, marked designs and very detailed work sheets.
When a workshop goes so smoothly it is always due to months of preparation. We certainly appreciate the effort that goes into our enjoyable evenings. Thank you ladies.

Monday, 30 July 2018

Machine Embroidery finds a Voice

In April the guest speaker at our North West Regional Day for members of the Embroiderers Guild, was James Fox, a local textile artist from Lancaster.
James entertained us with amusing anecdotes whilst enlightening us on his inspiration and  reasoning behind each of the pieces he brought with him that day, some of which have a serious message belying the pretty and delicate nature of the fabrics used, many from Liberty and some donated.
Here he is below, posing for a photo with his quilt called Liberty.

The Liberty of the quilt is not just the make of fabric but also signifies 'Freedom of the Press' and Blue was the colour of John Wilkes, an outspoken journalist and London politician of the 18th century who came to be regarded as a champion of liberty.

Here he is below, looking rather dapper, as indeed he was.


Unfortunately for John Wilkes being a Dandy did not stop people calling him the ugliest man in Britain but all was forgotten once he opened his mouth. A very good speaker, he could win many people over with his way with words and became Lord Mayor of London in 1774.

Look carefully at a James Fox quilt and you may be surprised to find an image of a gun or three, appliqued among the flowers.

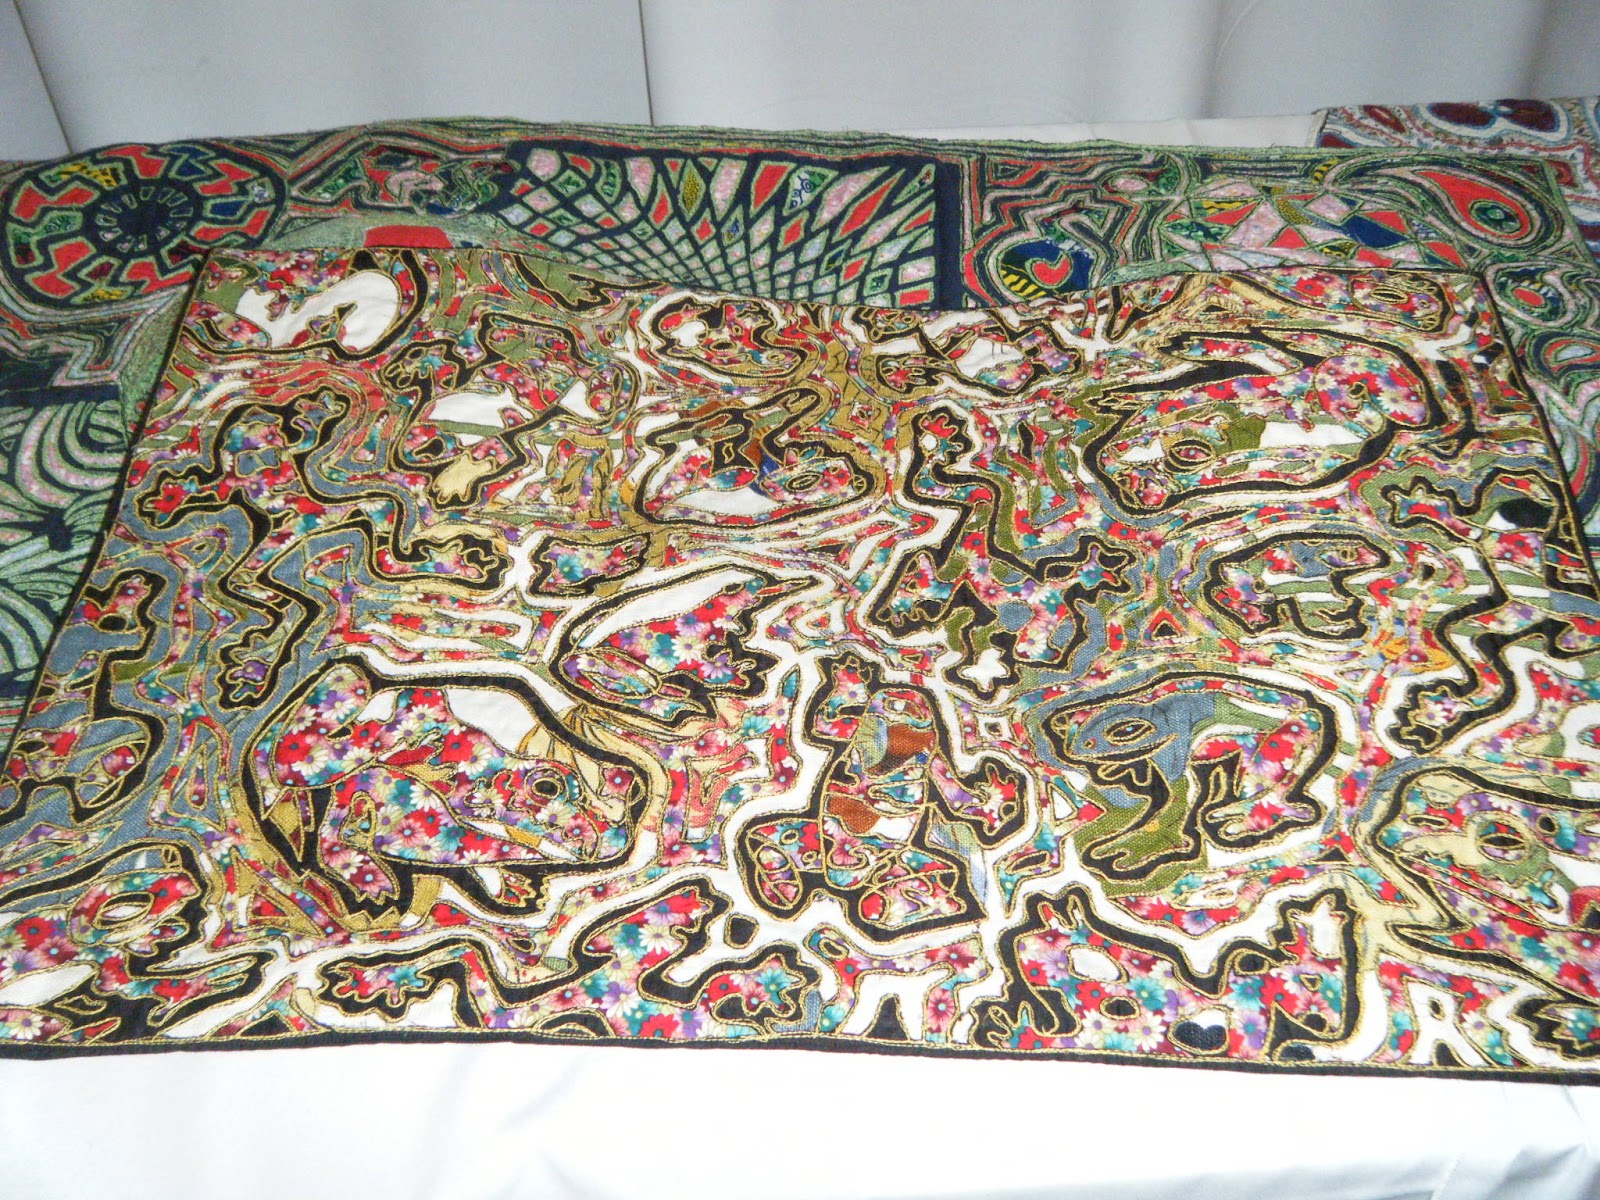
Here is a lovely green, red and black quilt with quite a busy floral pattern. Can you see the hidden creatures?

 I could not resist a close up of these lovely fellows, above and below.  I have always thought that frogs are rather pretty and they do come in a variety of colours in real life too, though not perhaps in floral designs :-)
Reverse applique and free machine quilting are the mediums that James likes to use.
After redundancy in the 80s he attended Art School which shows in the detail of his drawings. 
After getting a feel for his subject by drawing various versions, the final design is traced and reversed onto a base fabric that has a few layers of patterned and plain materials on top.
A free machined straight stitch sandwiches it all together on the reverse side first (one such WIP he was kind enough to show us) until the details are added and layers can be carefully cut away.  Raw edges are covered over with further stitching.

James' work is constantly changing along with society and its expectations. Several works have come into being whilst he made investigations into the craft and careful workmanship that went into the making of protest and trade union banners of the past.


Here is one such that I was drawn to, called Educate. 

The other two in the series are Organize and Agitate.

These next two works could be considered at first glance to be exploring the theme of clothing, but looking closer and you see the darker message.

Below,  in the piece called Non Uniform Day, policemen are dressed in 'Liberty Print' boiler suits to make the point that 
 Love changes things not Hate. Many of us remember the miners strikes of the mid-eighties and the action taken against them that shocked Britain.


Am not sure of the title of this piece, below,  but this is a new kind of 'Riot Gear' that sends fear into people's hearts. The eyes had a quite disturbing effect on me, even though we are, sadly, used to seeing such images on TV.


In this last work, the face of a homeless man, is less intimidating but again an all too familiar sight on our streets. However, there is a quiet strength and dignity about him, that the monochromatic colour scheme highlights.


If you are eager to see more of  James work and see his latest exhibits, click here to go to his website.
I would like to thank James for his permission to photograph and post his wonderful work and for sharing the stories behind his pieces. Long may he continue to stitch and inspire.

Tuesday, 24 July 2018

A Paisley Peacock Struts his Stuff

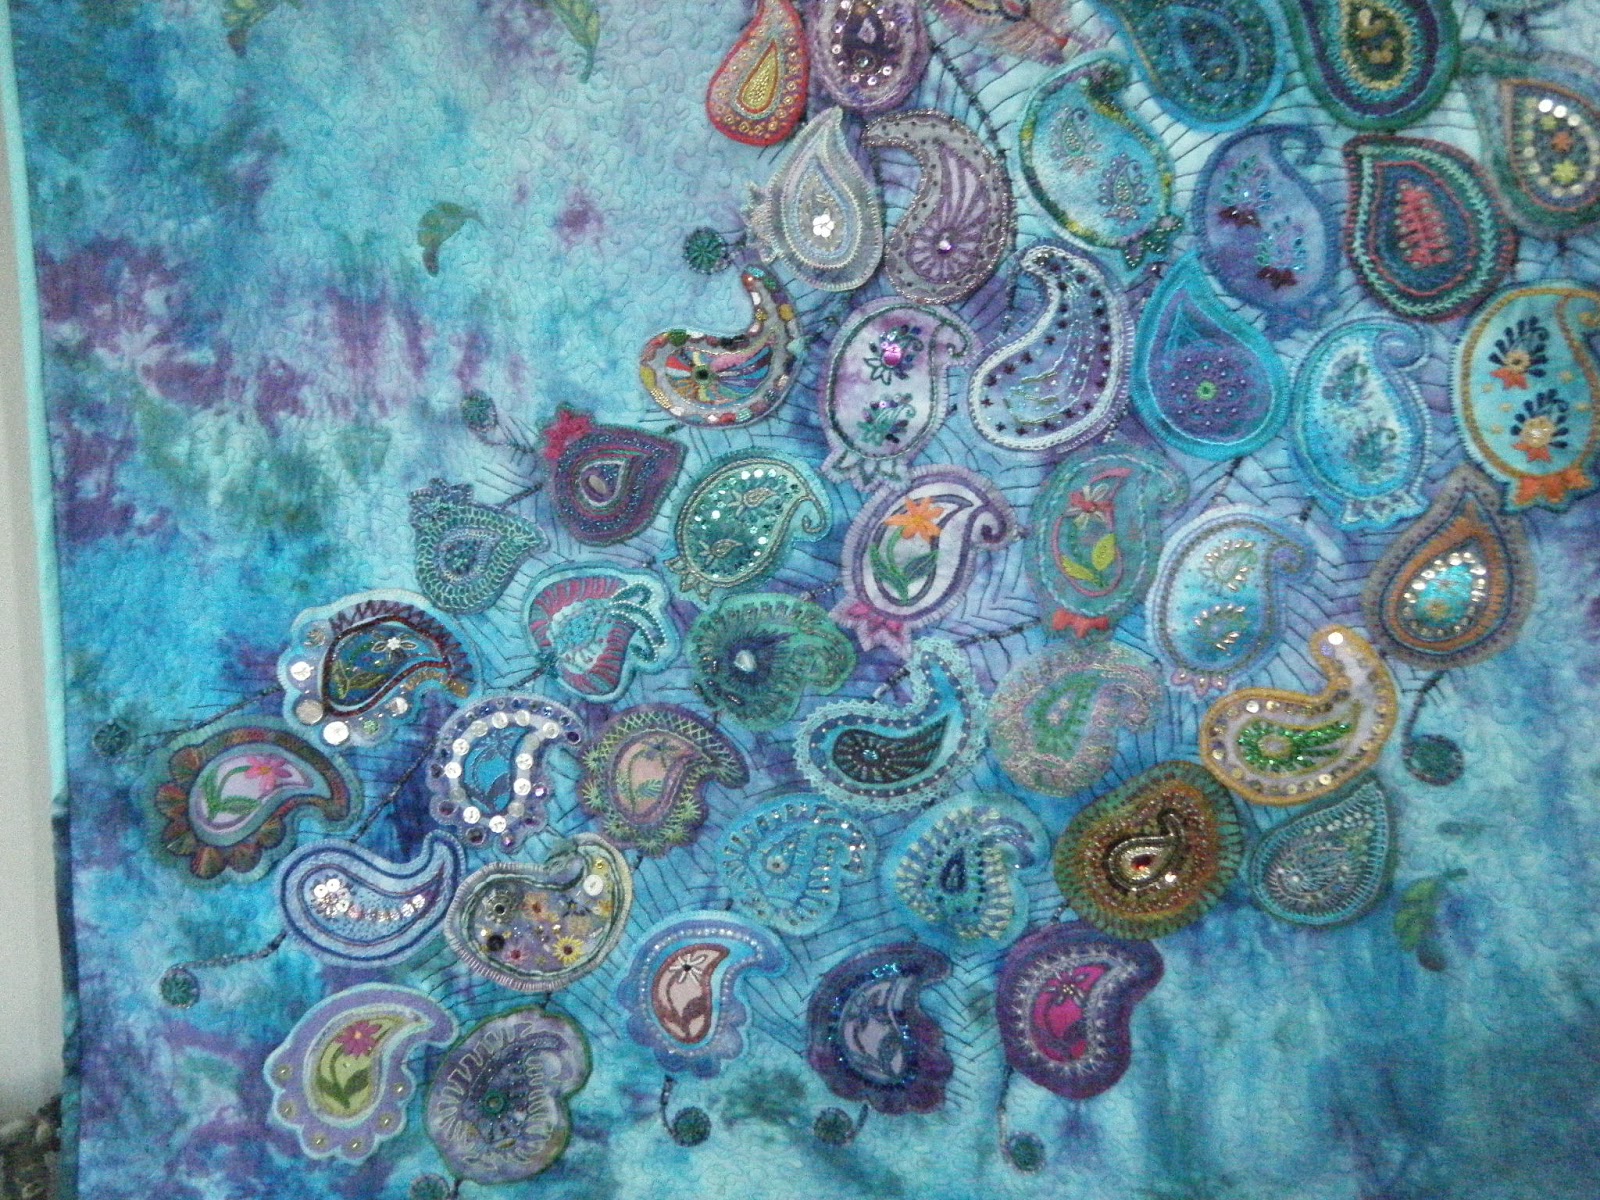
Do you remember the Paisley sewing activity that we did for the North West Regional AGM? These pieces were to be collected and sewn onto a large Peacock as part of his tail feathers ( read post here and here).
Now he is fully complete and was on view at our Regional Day held April this year in Leyland.
Here are some pics of Mr Proud Peacock. See if you can spot your own paisley tail feather.


 Below is a close up of part of his tail ala 'flash' so that you can appreciated the bright colours of the fabrics and threads that were used.


 The rest of his tail, in normal camera mode, above and the more vivid 'flash' version below.

I think that you will agree that he does look quite splendid and therefore, should be proud and strut his stuff. Perhaps we will see him again when we all meet for the NW AGM in October. 
Many thanks to all who contributed a piece and a Special Thank You goes to our very talented creator  from the North Lonsdale branch, who not only thought up the Peacock Project but the 2015 Circles/Mandalas and 4 Lines of 2016. She always has such big ideas and they are all very enjoyable to stitch. 

Monday, 23 July 2018

More Aqua Covers!

As promised here are the rest of the entries to the M Scott-Priestly competition in April called (this year only) Got it Covered, where entrants had to incorporate a piece of aqua/turquoise shiny fabric into their piece.
Please enjoy viewing :-)


 Simplicity speaks for itself, above, the fabric was used to cover a small square box... you won't lose this in a hurry!
Below, is a pretty Mandala stitched in variegated thread and adorned with sequins to compliment the colour of the fabric. (apologies for the fading - the flash version had to be used to show up the detail of the very neat stitching which is much richer in daylight). It is a very 'happy' design though, is it not?

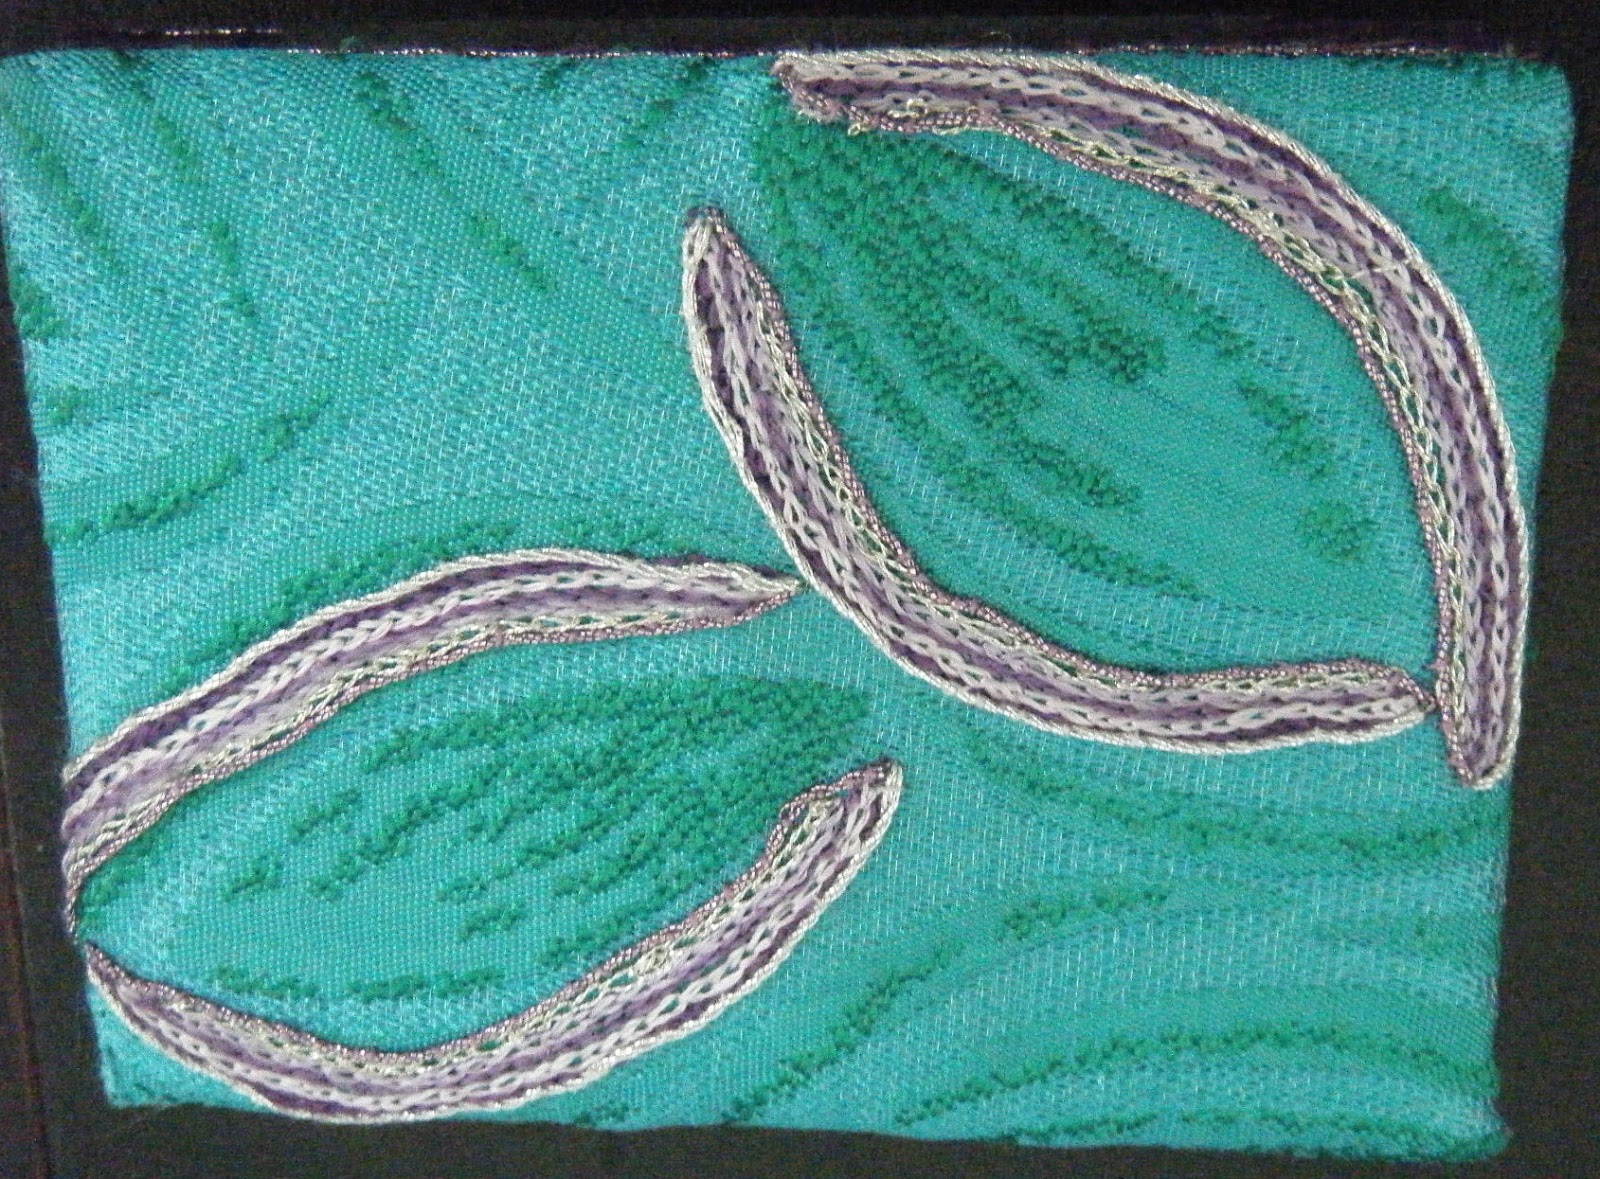
 The fabric design has been echoed in the stitching, here on this cover for a natty little needle-case, above, using silver and white threads. 
Take a look at the inside, below, its one of those clever mechanisms where it folds out and  then turn over and the ribbons are on the opposite side. As a child, I used to be fascinated by a money wallet like this that my father used to keep his notes safe.
I think that they are called Magic Wallets or Flip Wallets (thank you Google).

This is a rather luxurious looking cover for a note book, complete with a velvet page marker, above.
See the detailed stitch design on the heart (adapted from a Doodle by C Elmer on Pinterest) below, and the button flap closure also has a stitched heart to match. Lovely.


We all need a bin or trash can, as they call them in America. This is a rather posh one to hold all those ends of threads and bits of fabric that we always accumulate and sometimes reuse if we are being really conscientious!
See the beaded detail of the inserted vent below that adds a little extra sparkle. Just the thing to go on top of our sewing table - no need to hide this one away underneath :-)


What do you do with your Contact magazine whilst you are reading it? Does it clutter up the footstool or coffee table for a month or two, getting all tatty and ripped in the process?
Make one of these Booklet Folders and you can safely take it with you to read at the doctors surgery or on the train (if you haven't already taken something  'sensational' with you, like your diary, that is! Oscar Wilde fans will understand this pun). It certainly has more finesse than a carrier bag or plastic wallet that I usually use :-)


 Here is the front of the Booklet Folder, above, with a simple Fly stitches and beads following the outline of the pattern on the fabric.
Below, a sweet pink coffee cup with wooden hearts is on the reverse side. The pink cup co-ordinates nicely with the pink lining inside.


And the Winner is .........


 The lovely and very talented S................. who also won a 3rd in the North West Regional Aurifil Competition for Excellence in Embroidery with her Stumpwork Box that had an array of stitched and beaded fruit including raspberries, blackberries, red berries, blue berries and a strawberry complete with a white strawberry flower.
You may remember it when it was voted Visitors Favourite at last years Lytham St Annes Branch Exhibition held at the Assembly Rooms. See it here (third photograph from top).
Thank you to everyone for allowing their entries to be photographed. I hope that these pieces have inspired you to get out that 'I like it but what do I do with it?' piece of fabric that we all have in our stash and use it to cover something so that you can enjoy using it.