Along with the rest of the nation/world, it seems that we of Lytham St Annes Embroiderers Guild are also enthralled with the popular images of Cow Parsley.
On our Felting Workshop with the lovely Caren Threlfall, we just couldn't help ourselves.
So here are some of the results of our wet felting endeavours for you to enjoy.
All these are after making and still need to be 'finished' by free-machining, hand embroidery or embellishments such as beads.
This could be a sultry, warm summers day.
The two pieces (above and left) in cool colours may represent a winters day.
A hot or cool day for either of these pieces.
All have look great as they are but also have a lot of potential for being taken further.
Next up will be a few landscapes and flowers we produced.
As we at Lytham St Annes Embroiderers Guild found out the other Saturday; wet felting - as opposed to needle felting by hand or with an embellishing machine - is a combination of wool, WARM water, soap and friction (AKA Rolling, rolling and rolling.... and yet more rolling) but no glue.
To make your own felt you will need :-
Merino Wool Fibres - it must BE Wool or it will not felt.
A mad scramble for the luscious coloured wool fibres. This is washed, carded and dyed Merino wool fibre. Caren gets hers online from World of Wool, Huddersfield. Wool tops cost around £3 for 100g.
Also needed is a Mat/cane roller blind found very cheaply at places such as Wilkies, Argos or Ikea or other cheap shops, 2 pieces of bubble wrap, a piece of net curtain, a soap such as Ecover, warm water (it MUST be WARM or it will not felt) and old towel to put on the table to reduce mess.
A blob of the soap, about a 1/4 inch in the bottom of a bottle with holes in the cap; along with 'hand hot' water to fill the bottle is needed to lubricate the wool fibres so that they will knit together and 'felt'.
FIRST STAGE - making a basic piece of felt from scratch.
Place an old towel on the table to make a firm base to roll on and mop up spills.
The cane roller blind or mat goes on top of the this followed by a piece of bubble wrap placed bobbly side upward.
Now lay down the first colour of your wool fibres horizontally to make a square at least 6 inches across.
2nd colour will be laid on top of the first vertically and a 3rd colour or layer horizontally.
Now add bits for your pattern/picture, pulling and twisting them into the shapes you would like eg. flower petals, stems, leaves etc.
The curly fibres come from the Blue-faced Leicester breed of sheep though of course, these fibres have been dyed first. The fleece is actually a dark brown colour. Wool Nepps (pronounced Neeps) is the term for the bobbly white bits.
Next put your piece of net curtain on top of your fibres to hold them in place and apply the warm, soapy water mixture.
Use your finger tips to dab down on the net to get the soap into the fibres.
Remove the net and replace it with the 2nd piece of bubble wrap and roll your bubble wrap/wool fibre/bubble wrap layer up in the blind/mat.
Roll back and forth with firm pressure 100x
Unroll, taking care to peel off your fibres at same time; or else they will just roll back up in the mat again as you unroll it, and TURN your felt piece 90 degrees.
Remove bubble wrap and roll up again.
Roll another 100x
Continue turning 90 degrees after each 100 roll for about another 600 rolls.
This should give you a good firm piece of handmade felt.
Wash out any soap if you like but this should not really be necessary.
2ND STAGE - using Pre-felt.
Pre-felt is a felt that can be used as a base for your felted work and is available to buy by the metre. It must be wool and not the cheaper acrylic felt found in craft shops.
No bubble wrap is needed as the Pre-felt is the base for your piece so there will be no loose fibres on your mat. It is like a blank canvas that you can add felt 'paint' to as you would on a painting.
Put down your fibres and decoration in any direction that you wish.
Add details by pulling off fine wisps of fibres, twisting and shaping to make grasses. Poppies in background are made using Wool Nepps.
Larger poppies in the foreground can be made by rolling the wet fibres in the palm of your hand, into a ball to make a small felt bead. The black centres of the poppies can be needle-felted by hand later after the piece is felted.
Put darker green wisps over the poppies to make stems, bits of blue to represent cornflowers.
Cover with net curtain and wet with warm soapy water, agitate a little with your finger tips, remove the net and replace with a piece of bubble wrap.
Using your net curtain as a mop, rub on top of the bubble wrap.
Next remove the bubble wrap and roll up in the blind/mat and roll around 400x till it all holds firmly together.
3RD STAGE - using strips of Sari ribbon to make Cow Parsley.
Layer wool vertically up and down on top of a piece of Pre-felt, add bits of sari ribbon in varying lengths making sure to put a few fibres over the top to help them felt down ( a stage that I missed and found that my sari strips had moved in the rolling stage and turned my white nepps pink).
Now the happy bit :-) add clumps of white nepps to form the heads of the cow parsley.
Follow previous stages to wet, bind and roll until satisfied with your piece.
Sari ribbon can be found in Abakhan stores or on-line at Crafty Notions and Rainbow Silks.
4TH STAGE - making 3D Flowers.
To make a 6 petal lily - on top of a piece of bubble wrap, lay out fibres in a 6 pointed star shape, lay another colour on top of this first crossing the fibres over each other. Do the same with a 3rd colour which will be your flower centre.
Follow previous stages of net curtain and wetting, removing net, replacing with bubble wrap and rubbing over it all with your net.
Remove the bubble wrap to look at your work and refix the shape if needed.
Using just the base bubble wrap, roll up in mat and roll 100 times, pick up with your hands, replace and re-roll, rolling for another 50 times.
Take a double pointed knitting needle and putting it into the centre of the flower and shaping the fibres around it, roll up in mat and roll again for another 100 x.
Dry your flower off on your towel and gently pull and tease out the flower petals.
Grab the centre of the flower between your thumb and forefinger and rub in your hands to make the top of the stem.
Keep shaping and rubbing the end and the petals and pulling the petals into the shape you desire.
You should end up with a beautiful, exotic looking flower like this one.
NEEDLE PUNCHING.
Lay pieces of wool fibre onto your felt that you wish to decorate and lay this onto a piece of foam. Stab with a felting needle. Continous stabbing pushes the fibres into your picture. The same effect can be produced 'dry' using an Embellishing Machine.
Solid felted sculputures, animals and beads can be made by hand with a felting needle.
For more info on classes or to see Caren's work, click on ThrelfallArtStudio to find her website or click on Facebook page.
Caren Threlfall is a textile artist with a Fashion Textile Degree who now specializes in Felt Making. One Saturday not too long ago 17 members of the Lytham St Annes Embroiderers Guild gathered at a local church hall to have a go at making our own felted pieces guided by the lovely, patient and amusing Caren.
Despite it being heavy work - all that rolling - it was an amazingly relaxed day, but before we get down to the 4 different felting techniques; feast your eyes on some of Caren's beautiful pieces.
Cow Parsley - at least that is what we all call it. Its a very popular image at present turning up in whimsical illustrations and drawings, mixed media art and stitching - and now of course, felting.
And here it is again - lovely free machine stitching.
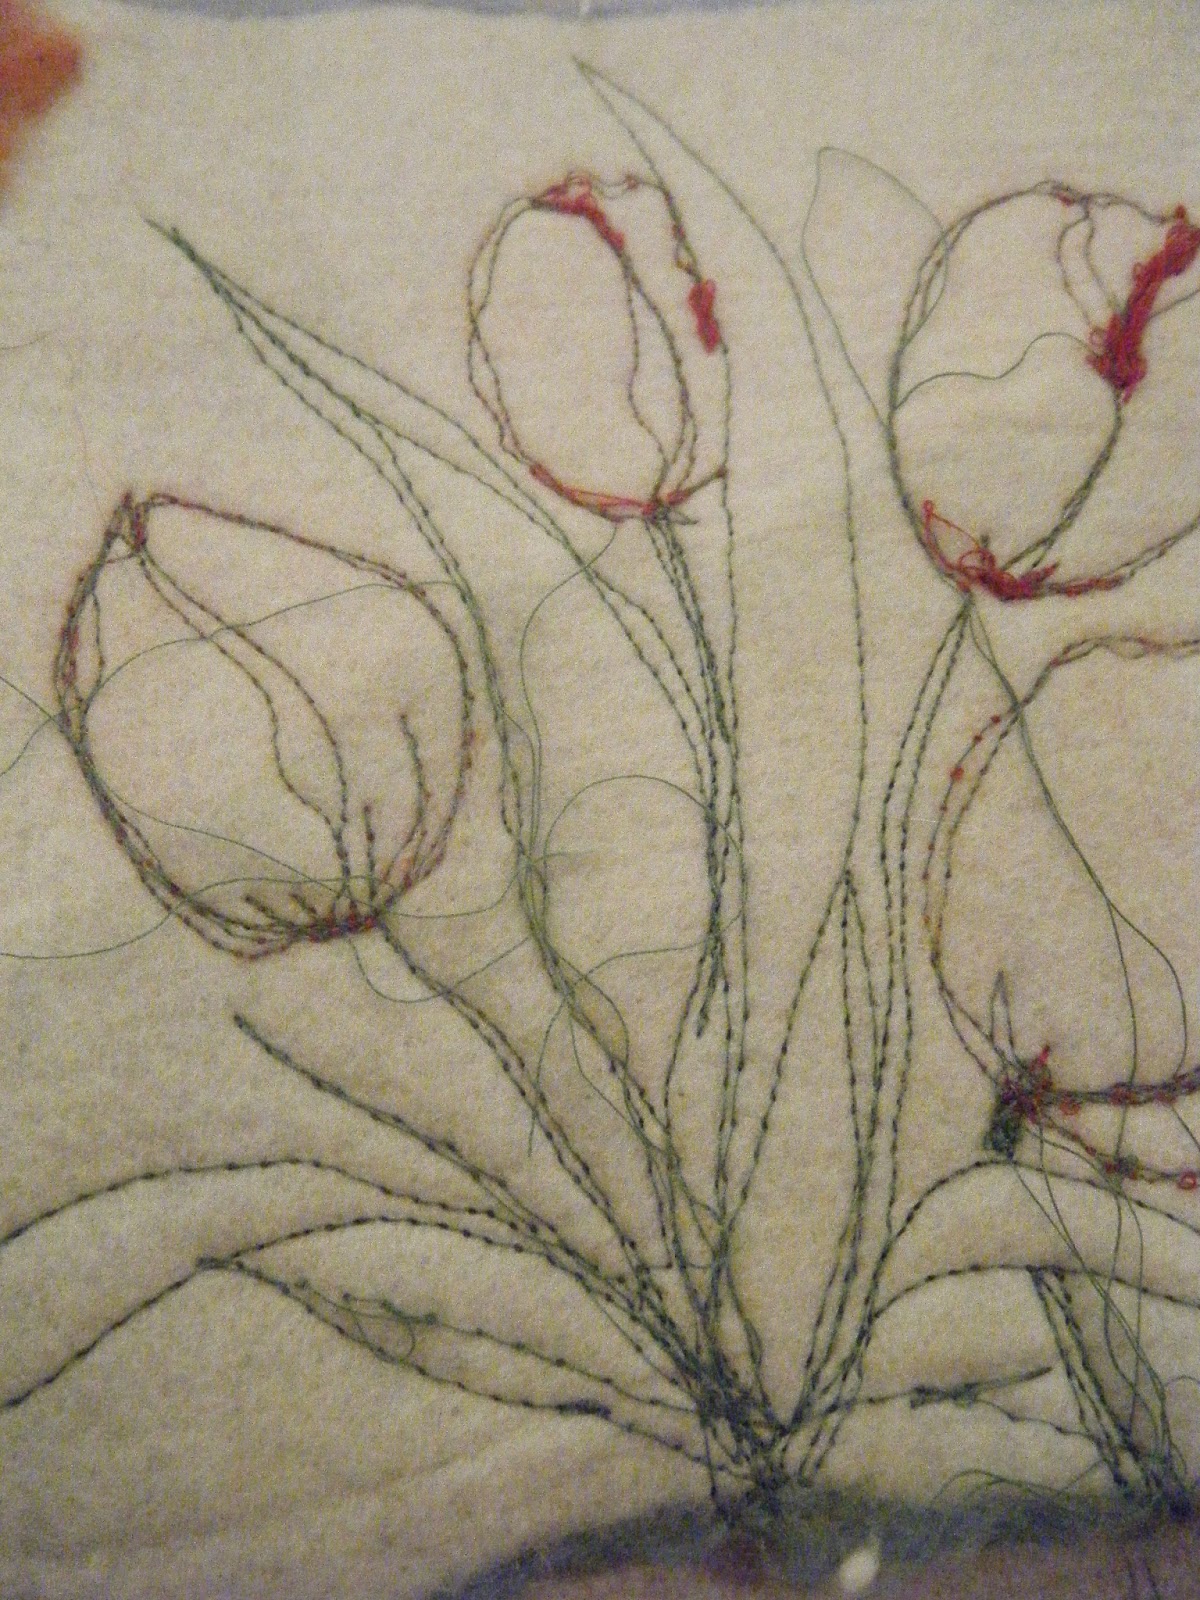
Tulips - and just as neat on the reverse side.
A hillside complete with sheep, stone walls and a lovely pink sunset.
A ploughed field in earthly hues, a wooded copse in the background and flocking birds. Hope they are not eating the newly sown seed!
Felted roses in a glass vase. Did you know you could represent glass in felt?
If that has whetted your appetite and you want to know how to go about making your own felted masterpieces, then read the next post. Or if you can't wait for that and would like to take a class with Caren or see more of her work then log onto www.threlfallsartstudio.co.uk or http://www.facebook.com/ThrelfallsArtStudio
Truffaldino is the name of the Jester in the Opera by Prokofiev - The Love for Three Oranges. Judith Khoudi brought his costume to show us during her talk at the Lytham St Annes Embroiderers Guild and here are a few photos that in no way show how fabulous it was but may give you an idea. You may want to book her to come speak to your group.
I really loved the little lights on the base of his coat that really did light up. You can just make them out (although the artificial lighting overhead in the hall did not help).
The base of his coat depicts an Italian town and he carries a felted satchel shown below.
The actor/student modelling the Truffaldino outfit had to suffer wearing authentic style 16th Century leggins in a heavy, itchy blanket type fabric that scratched. Judith cut them on the cross and made lace-ups at the bottom of each leg. I am sure that wearing his wonderful hat more than made up for any discomfort.
Details of the Jester's collar which was drawn on paper, scanned into a computer and then printed onto fabric. The swirly curls on the hem of each sleeve is knitted eye-cord also known as French Knitting using a Knitting Dolly ( those of us old enough will remember making eye-cord on a wooden cotton reel with 4 nails hammered into the top. Eye-cord can also be made on double-pointed knitting needles which is a little more tricky).
What wonderful ideas Judith has. We all thoroughly enjoyed her talk and looking at her fabulous garments and wish her well in her future costume making endeavors.
We certainly know where to go if we need a Ballroom gown or Ice Skating dress anytime soon.