Saturday, 19 August 2017

A Lesson in Drawn Thread Work

At the Lytham St Annes meeting a couple of days ago, we had an enjoyable workshop on Drawn Thread Work taught by our long-time member; Linda Bedford.
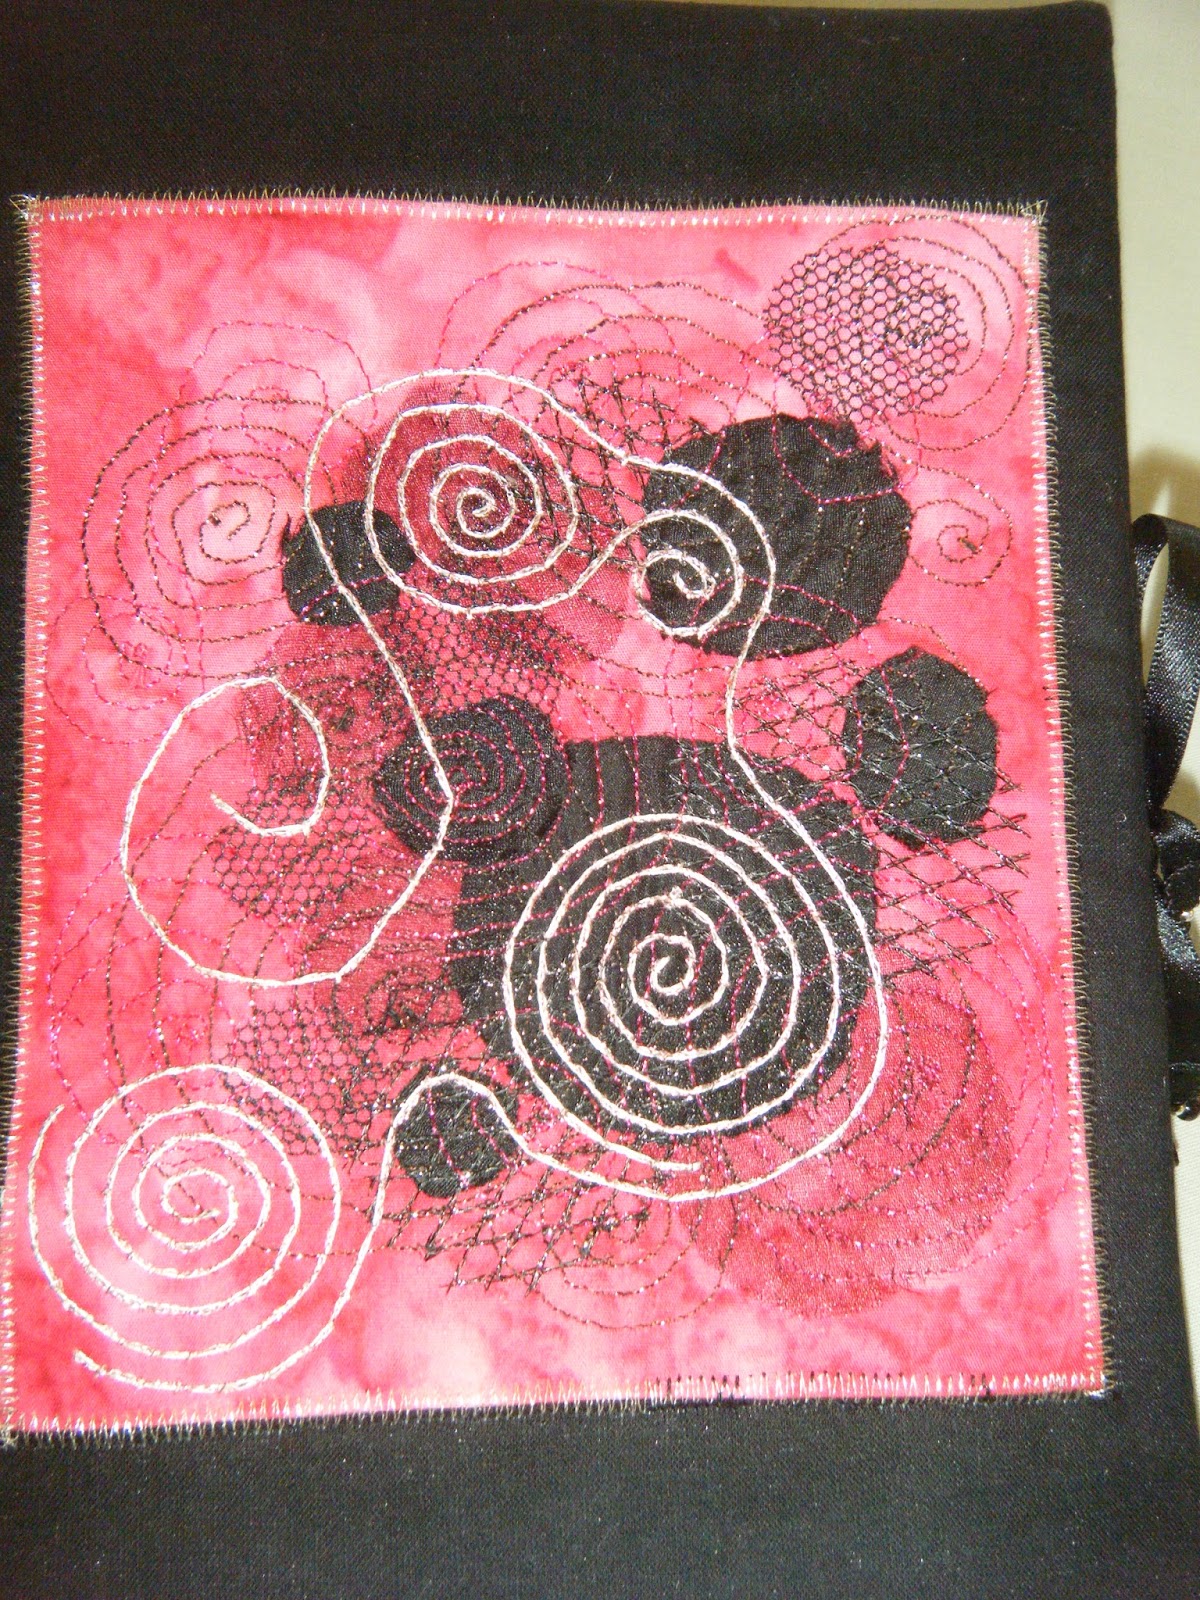
Here is a small section of a larger piece of Drawn Thread Work that you may remember seeing here in the Exhibition Posts.

Linda always goes to a lot of trouble making sure that not only are there plenty of samples to pass around and scrutinize to see what we are trying to achieve (and aspire to!) but that we are equipped with extremely helpful handouts detailing each step as well as a little history on the technique. Fabulous when writing up a blog post :-) Thank you Linda.
For those of you that are not familiar with the Drawn Thread Work, it is a counted technique usually worked on evenweave fabric (examples in this post); traditionally Linen and is one of the oldest forms of open weave embroidery. 
Threads are removed or 'drawn' out before being stitched together around the remaining threads to form a pattern utilizing the gaps.
There are many varieties and patterns that have been developed over the centuries and just as many uses for an item decorated in Drawn Thread work, such as Altar Cloths embroidered by nuns in 13th century Germany. During the Renaissance it was used as a 'fake' lace which during that time being hand made was expensive and slow to produce.
Drawn Thread work has also been used in garments and household linens - tray cloths being a popular use today. 
Whilst categorised as 'White Work' contemporary pieces do use coloured thread as it is much easier to see, especially if you are new to the technique.
This is a sample of what we were learning in our first Drawn Thread Work Lesson.
 Top row shows Hemstitch over 2 threads, middle row is Hemstitch over 4 threads and the third row stitched is called Zig-Zag Hemstitch.
As you can see in the sample above, the fabric - we were using a Zweigart 18 count Davosa cotton fabric in Antique White with a coloured Perle no 5 thread; needs to be prepared by first marking 
the central vertical with a running stitch line using ordinary thread and a tapestry needle as the blunt point makes it easier to push the needle through the holes in the fabric.


Then counting 20 threads to the left of the central line - a pin is a great help in making sure you don't lose your place; we stitched another vertical line and repeated this again 20 threads to the right of the central line. We ended up with 3 vertical marked lines.
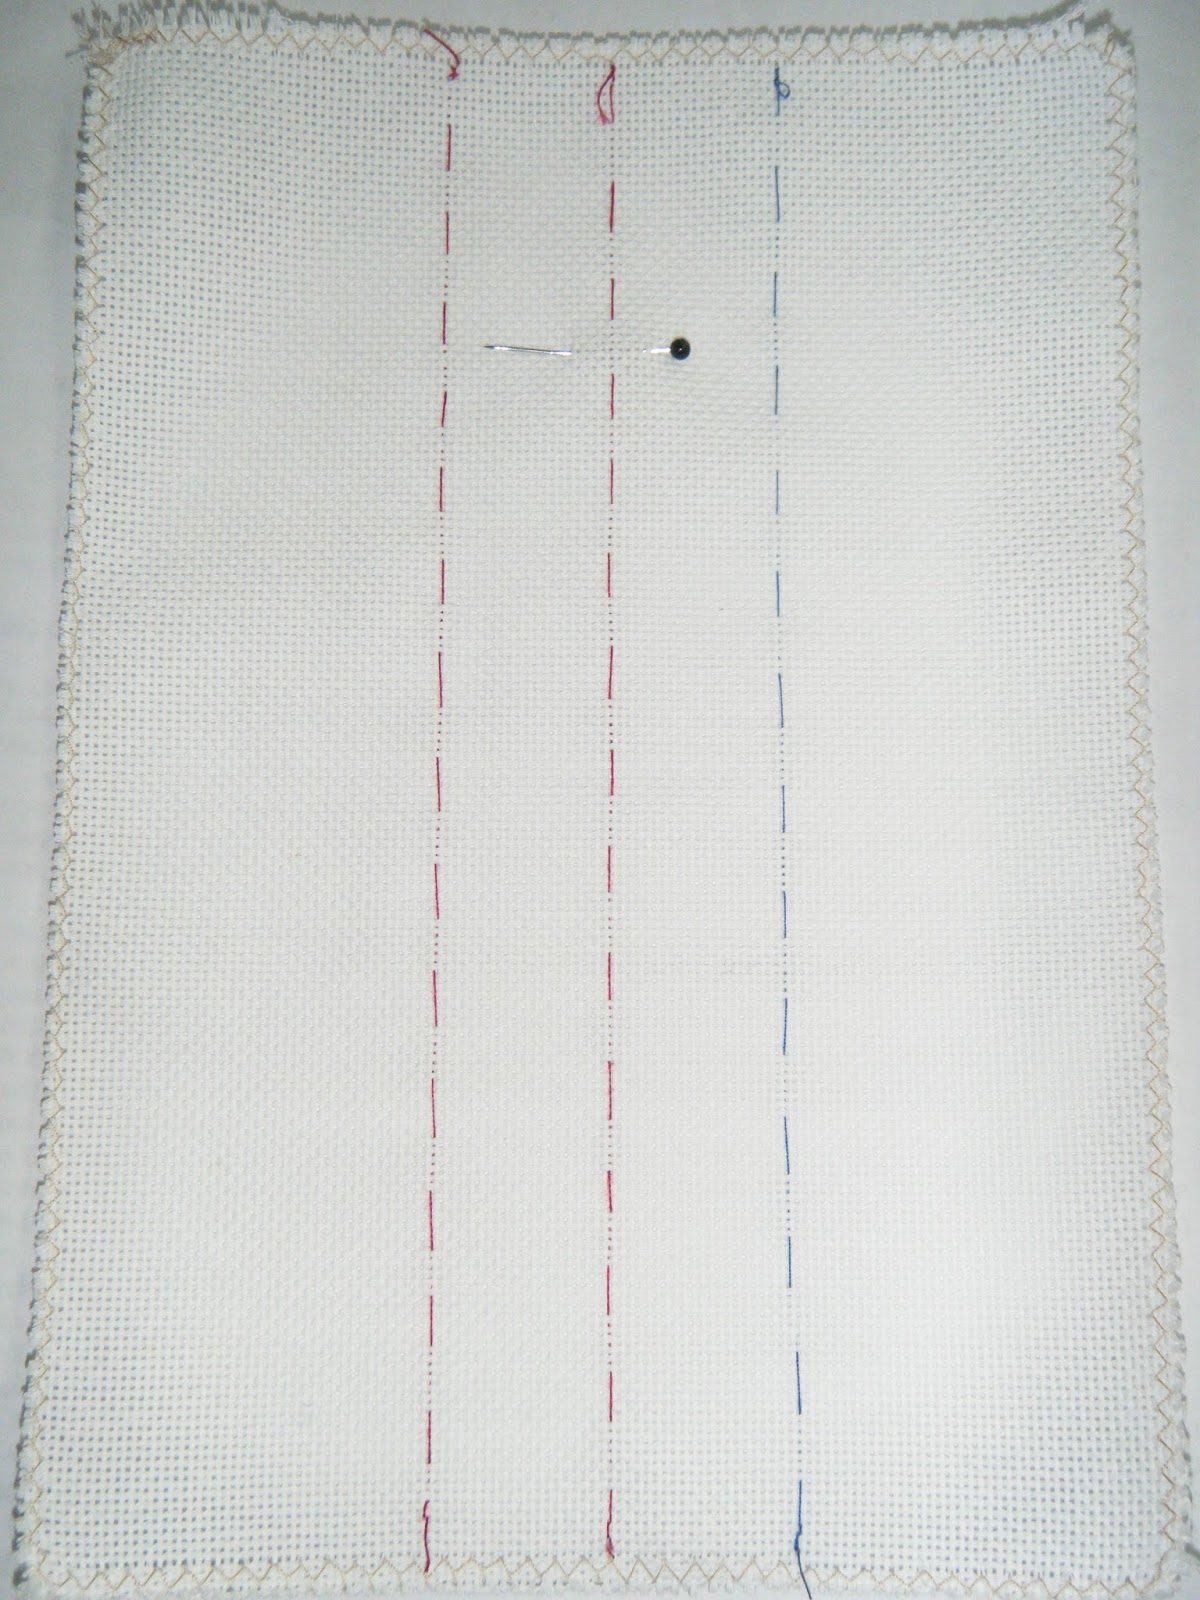
Linda went to great lengths to explain how to do this and which lines were Warp (vertical) and which Weft (horizontal - or 'West to East' is a good way to remember). She made a HUGE sample piece, seen below, to help us to see how to with draw the Weft threads by cutting 2 weft threads on the centre line about 2 inches from the top (as shown by the pin in photo above) then taking the first out about 3 cm past the left line and taking to the back so that the second thread could be woven into the space beyond the line on the first.
Some Teachers Go to Great Lengths to Teach their Pupils!
It sounds complicated in text but in reality was really quite easy to do once you had seen how its done or had Linda's excellent handouts that were complete with diagrams to show the method of stitching. 
The trick to the weaving part was having a tapestry needle that had an eye large enough to fit the weft thread but small enough to weave it into the top line without it being obvious. Some tapestry needles are too small and others quite large so find a 'middle' size one (you'll know once you use it).
Another method for fastening the loose threads is to sew with Satin Stitch but that method is for another day, another post, maybe.
I won't even try to explain the stitching as a diagram is best but you make a waste knot and then come up two threads below the first space - then  it was a case of following the diagrams for each different stitch to make the patterns.
 Depending how many warp threads you take the needle around and under and where - you can offset them by doing two threads beginning and end of row - makes the patterns differ.
Here are some of our works in progress below.

The sewing thread needs to be pulled firmly to make the Warp/vertical threads stay together.
Once one row is finished, weave you sewing thread under to fasten off and then start the other row in same way with a waste knot.
Above, in green is Hemstitch over 2 threads.
In our lesson we did not get up to Hemstitch over 4 threads, or Zig- Zag where the 2nd row is begun and ended with working over 2 threads and the rest of row over 4, but these are easy enough once you have gained confidence - more in next post.


 A very big Thank You to Linda Bedord for all her hard work in preparing and teaching us this lovely technique with her usual patience and expertise. We were quite a handful during the counting and withdrawing thread phase, I can tell you..... however, practise makes perfect so they say - and it is true, we went home and reread our handouts and got down to stitching and found out Oh Joy! it really is quite easy! (just like Linda had promised) once the counting, drawing out and weaving in is done it stitches up FAST. Yippee! - now we are all ready, homework done and happily anticipating our second lesson in September. 
Until then you can feast your eyes on some of Linda's beautiful Drawn Thread Works of Art coming up in the next post. 

An Elephant on Parade

Do you remember this huge Elmer that appeared at the recent Exhibition of work by Lytham St Annes Embroiderers Guild?

He was a stitching activity that visitors could take part in by stitching and decorating one of his coloured squares. At the end of our 2 1/2 day exhibition Elmer was not quite finished, needing a few more squares completing before he had his new suit.
Here are his completed leg sections.
  A completed back leg, above, and front legs, below; with a bit of body :-)


 Now Elmer has had his ear attached, above, and below,  a very colourful and also now decorated - Elmer. How happy he looks.
Someone also penned a sweet little story about Elmer's New Suit, describing how he met a few ladies sat stitching and eating cake (of course!) on a Sewing Day and expressed an interest in having a new embroidered suit made. The ladies being members of the Lytham St Annes Embroiderers Guild rose to the challenge and very soon Elmer was admiring his new reflection in a lake. Was that Fairhaven Lake, I wonder? 
Loving the lake detail as Elmer does seem to jaunt about in the woods quite often and there is usually a lake. It really made me smile. 
How about you? Are you a fan of Elmer too? Come and see him at our meetings in Ansdell. Details on the right side bar.


Elmer now has an ear, below. Bet he is very glad about that...


Elmer in all this colourful glory.

Sunday, 6 August 2017

National Celebration of Stitch 2017 and The Garden Party

Lytham St Annes Embroiderers Guild decided to hold The National Celebration of Stitch Day in the local libraries this year. However, at short notice St Annes Library had to be closed on Saturday so everyone convened at Ansdell Library.
Here are two of our members; Sue Bennet on the left, and our Chairman, Joan Lowe on the right. They are busy stitching Butterflies which was the theme for this year.
No WIPs am afraid as I could not attend but hope to share some completed butterflies in the future. Sue and Joan were joined by other members and the public during the morning session. All had a jolly time whilst raising awareness of our Branch Meetings and the Embroiderers Guild. Well done ladies :-) Read about our National Day of Stitch in 2016 here.
The Celebration of Stitch Day just so happened to coincide with our Garden Party which was favoured with glorious sunshine (unlike last year where it poured down and our party was held in a pretty conservatory. Read the post here). Here we are in the garden which our host had decorated with colourful bunting.
 It was hot! but tea and cakes helped us cope with the heat....
 A yummy strawberry meringue, above, and below, cakes the stitched variety. 

 Just had to snap the Cupcakes embroidered on the table cloth. How lovely.
We were not just munching though - we had some work to do in the form of a crossword, plus raffles, plenty of prizes and a two presentations.
Here are our members, Sue on the left, and Angie, on the right; who received the most Visitor Votes at our recent Exhibition. 
 Both received 9 votes each for an item of work (each had submitted several - they are busy stitchers!) See the Forest Fruits Box that Sue made using the Stumpwork technique here, and Angie's huge Autumn Spice Quilt; which she has since renamed 'Butterfly Paradise' as she says 'it seems much more apt' due to the profusion of butterflies on the fabric blocks and borders.
Lastly, a little more stitchy goodness was on display at the Garden Party with this lovely handkerchief, above. It was stitched for the North West Region Chairman's Challenge which was to stitch a handkerchief that would represent each particular Branch in the region. 
This windmill is a well known local landmark on Lytham Green.
Each kerchief will be joined with the others to make up a cloth that will cover the table at the NW Region AGMs. This was a great idea to make something that everyone could have a part in without the logistics of moving it from branch to branch.
Many thanks to our kind hostess for having us for tea and cakes. Everyone thoroughly enjoyed themselves.


Sunday, 30 July 2017

Machine Embroidery

In this last post documenting the Exhibition of work by the Lytham St Annes Embroiderers Guild, we have a selection of machine embroidery.
This table had a Japanese theme to it (the other half of the table held the display of  Tama bags made from Kimono fabric - read about these here). 
The Kimono wearing ladies on the cushions have been designed on the laptop painstakingly drawing with a mouse and then stitched on a specialist embroidery machine to make these exquisitely decorated soft furnishings below. 

Here are the Japanese Ladies in close up, above and below. 
Notice the traditional footwear.
Our designer went to a lot of trouble to explain the process to make these embroideries on her Brother Super Galaxie 3000 embroidery machine as you can see from the stitched samples and information cards in the first photo of this post.
Whilst the embroidery itself was done in 15 minutes it took 2 hours at the programming, laying and editing stages if you are not using a commercial pattern.
You will need to import an image and make changes, or draw free-hand from scratch using a stylus making sure that all the lines are joined up so that when you select the colour and stitches to fill in there is not a bleed through when it is transferred to the embroidery machine for stitching.
The result is a very professional finish. This was how the bib was made in the previous post.
A twin needle was used to make the square quilting pattern on both cushions.
Love the orange silk Kimono design above!
Below, we have the Oust House. This has been free-machined, which means no patterns or computer programming but you do need concentration and a good eye as well as steady hands and a lot of practise.
Very nice detailing on the brickwork and roof and fabulous floral and green touches growing up the walls of the oust house. See the little attic door in the roof?

Another little door in the trunk of this tree, above. Do fairies or elves live here? Lovely textural stitching make up the grass and greenery.
Below, a beautiful Poppy Bag fit for an evening out.

More free-machining on this interestingly shaped Triangular Bag above, you can just see the beaded flower detail on the Tama bag behind it (see link to see the other Tama bags).
Free-machining on this Nuno Felted bag above, and also free machine quilting on the Owl wall hanging below.
This is Woody, the 'green man' owl. Isn't he lovely? There were a few owls submitted in various stages but Woody was the first quilted and finished (and the best outcome in editing..) To see the other Owls in the making, click herehere and here. The Owls are from a design by Lizzie Wall the Tutor who took the Day School in the links. 


Lastly, we have a couple of free-machine embroidered and embellished book covers. The Terracotta Triangles book cover, above, has couched gold braid that has been free-machine couched using zig-zag and a loose lower tension. Also loving the charms on the ribbon closure.
Not sure what the correct colour of the next Spiral Book Cover should be. The reddish pink/coral colour above, or the terracotta below? Both look great but the flash has altered the colour of one. What do you think? Which is your fave?
Whisper - think it may be this one above as the stitching style seems to be that of the maker of the first Terracotta Triangles book cover.

Well, thats all the photos from the Exhibition that came out well enough to post.
We do hope that you enjoyed viewing them. Our stitchers and makers certainly put in a great deal of time and effort not to mention those who gave their time to catalogue, set up, steward, take down, tidy up and all the other jobs and organisation that go into a 3 day Embroidery Exhibition, on top of the making.
Grateful thanks to you all for making everything such a success.

If you can't wait for our next exhibition in 2019 consider coming along to our monthly meetings and join us. You will be very welcome. Address on the right hand sidebar.